I am now in the final week or so of this client project - time has flown by and am finding myself frantically trying to finish texturing and organising the project for submission on the 22nd.
I have been working on the East and South front walls so far, unwrapping them all using the flatten mapping tool and texturing in Photoshop. Okay, so originally the plan was to use so called 'vector textures' but Illustrator seemed quite challenging to get to grips with in terms of producing more realistic textures, so we decided to go back down the Photoshop route for now. We have also been given the Substance Designer software to consider using for the project, although I still haven't figured out how to use this effectively, as my textures tend to look less detailed using this substance method, but I still have a few days at the end to consider producing a version with these textures used with the same source bitmaps, etc.
Here are some of my main textures and examples of unwraps so far to show how it looks at the moment...
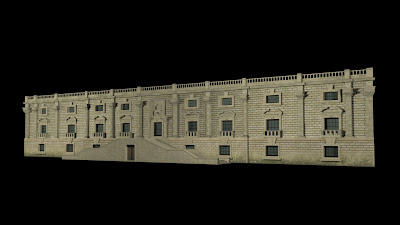 |
| East front main wall - added some dirt and detail since meeting |
 |
| Main pillar unwrap |
 |
| Entrance steps unwrap |
 |
| East front main wall unwrap |
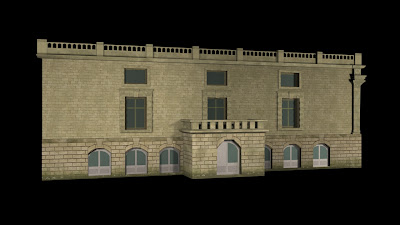 |
| South Front texture progress |
 |
| South front main wall unwrap |
 |
| South front balcony unwrap |
From looking at these now, and also merging in 3ds max, I can see that they are slightly different colour tones, as in the south front wall seems more much yellow and saturated, so this is something I can work on later on when adding finishing touches. Also, the archways on the south front wall are proving difficult to texture effectively because of the low poly effect on the tops of them, so I may add a few more segments after texturing, by collapsing the unwrap modifier onto the editable poly modifier in 3ds max, therefore not effecting the final texture.
Another technique I have been working on is creating normal bump maps. This is basically like a bump map I am used to using in 3ds max, where an image is created to add an effect of relief, but it also effects lighting and shadows. These normals maps are blue and purple mainly in colour, and I am creating them using the nvidia normal map filter in Photoshop. Here is an example of how I have experimented with it so far...
 |
| End pillar normal map test |
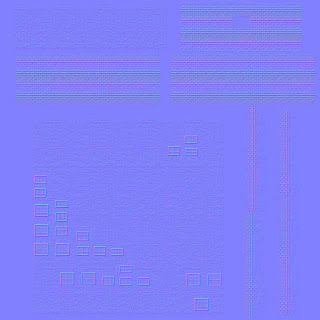 |
| East front wall normal map test |
 |
| South front wall normal map test |


No comments:
Post a Comment